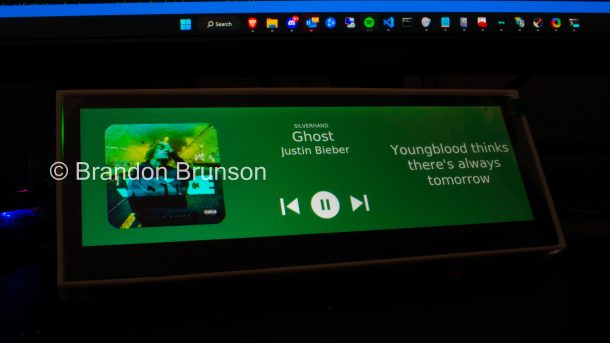
The last thing I would have thought a beautiful GUI could be made in was only one language: Python. One of the most diverse languages, Python is known to be the perfect tool in a developers arsenal for a wide variety of logistical tasks and projects. Being the most used scripting language in the world, as well as used by the biggest companies, Google, Facebook, Chase, Spotify, and that’s just to name a few. Python does a lot of things well, but one language you don’t reach for to make a GUI? The answer is also Python.
Now, while I could have made this in C to make it more native, JavaScript to make it prettier, or Java to give me a headache, I chose Python. Once I figure out why I did this I will update.
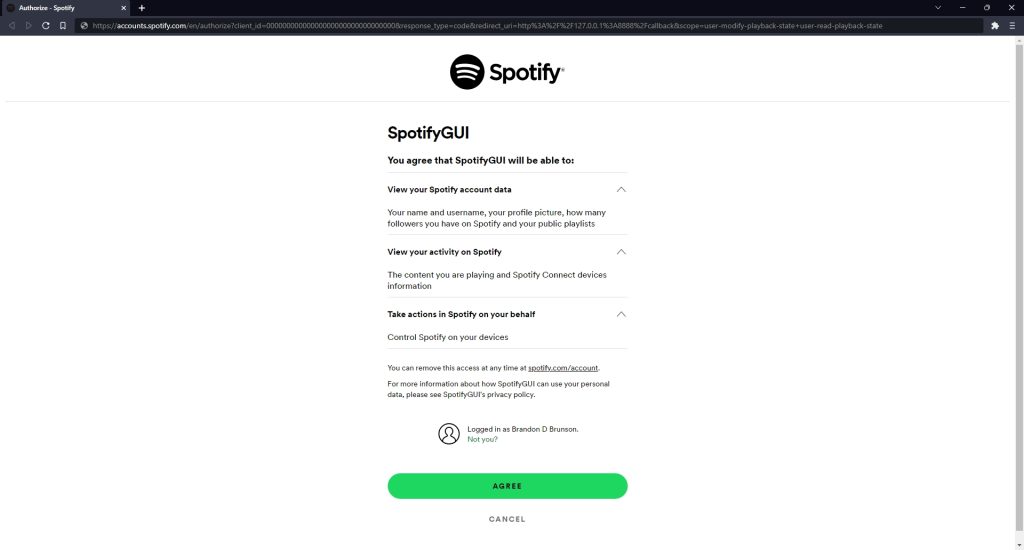
What I have made is a Python application that uses the Spotipy library (which is just a wrapper of the Spotify HTTP API) to facilitate an OAuth2 login to a Spotify account by opening a Spotify login screen, as well as hosting an HTTP server to recieve the localhost callback from the web browser to grab the authorization token provided by Spotify for the users account. This token is then stored locally and the proper steps as designed by Spotify are used to “refresh” that token with the user’s account information to generate new tokens without the need for a login each use.
The program then goes on to use the built-in “TKinter” Python library to create a scene and frames that are used to construct the GUI. TKinter is a really great library as it does not depend on a particular OS support and a GUI can be made that will operate on any platform (Windows, Mac OS, Linux, etc.), anywhere Python can be run.
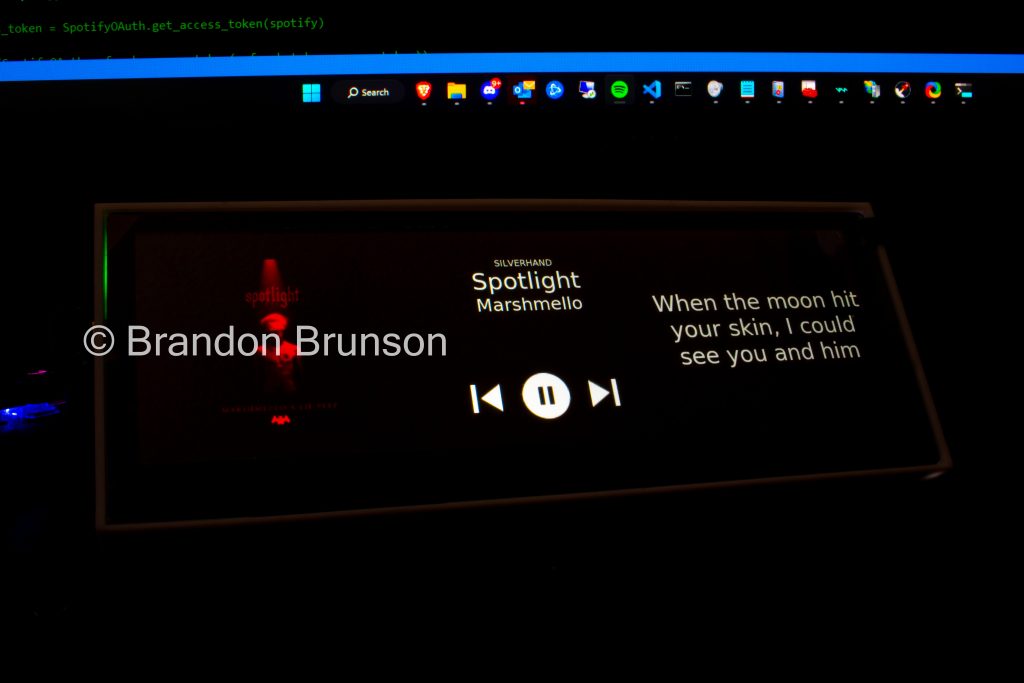
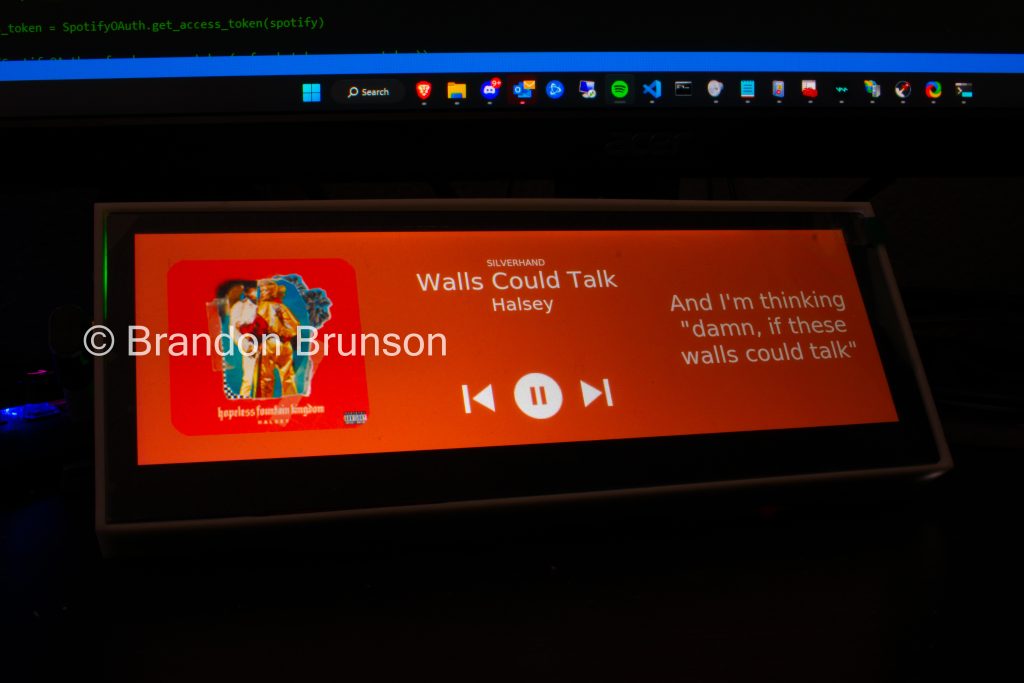
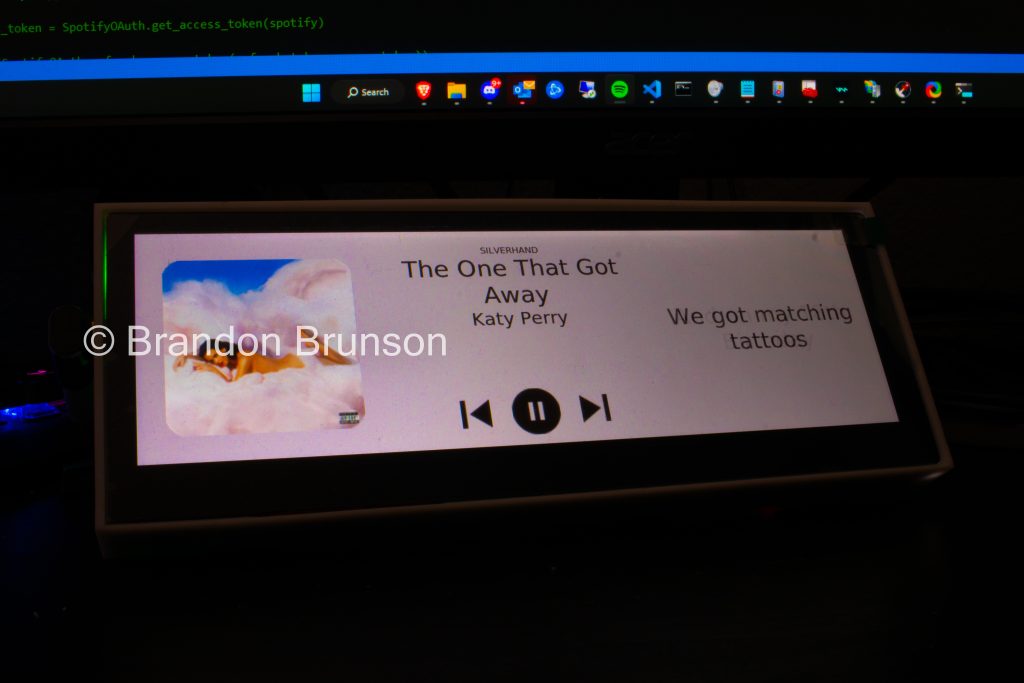
Functions are defined to control each element of the GUI with all visuals being contrast-reversible. The program upon startup and after authentication, will go on to poll the Spotify API for the user’s currently playing information. Spotify provides this through there API in a JSON-formatted string which is parsed by the application to determine the key values that are needed for the program, such as the name of the device playback is currently on, the track title, the artist title, as well as the tracks length as well as the current track progress, so the progress bar can be drawn along the bottom of the display. After this information is displayed it waits for a change from either the on-screen controls, or another Spotify Connect device, as it will recognize and work with any other Spotify Connect device and keep up to date even when music playback is controlled elsewhere.
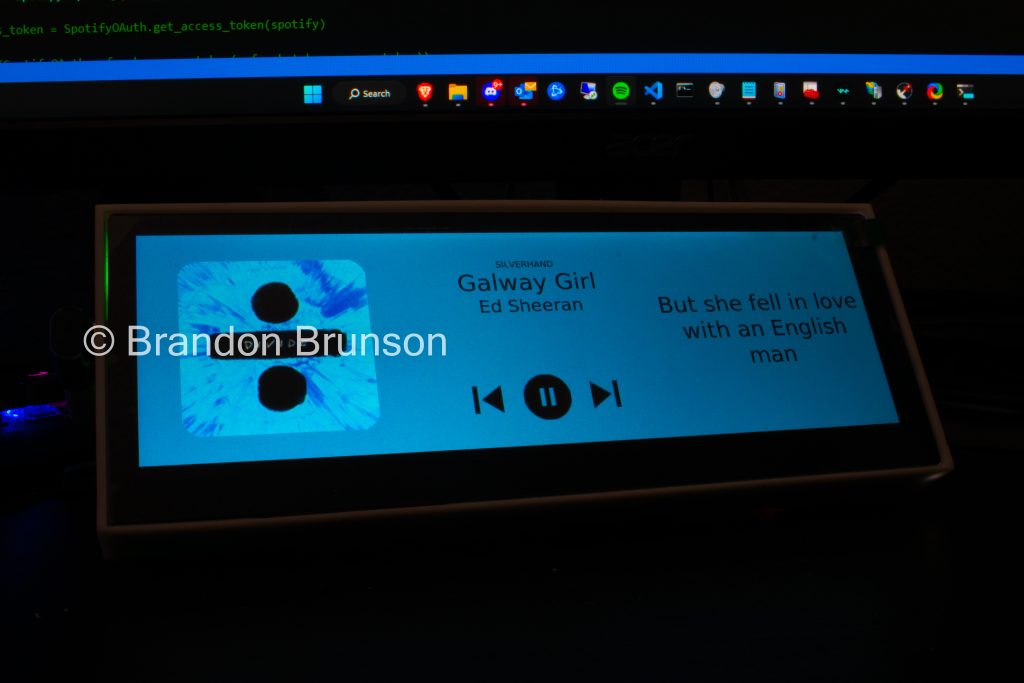
After this information is parsed, the program downloads the lyrics from a 3rd-party source (as Spotify nor their lyrics partner Musixmatch provide publicly available APIs), parses the data to separate at what second each line is being sung at any particular time. It then compares this information with the current position in the currently playing song and displays the line when it reaches the right time.
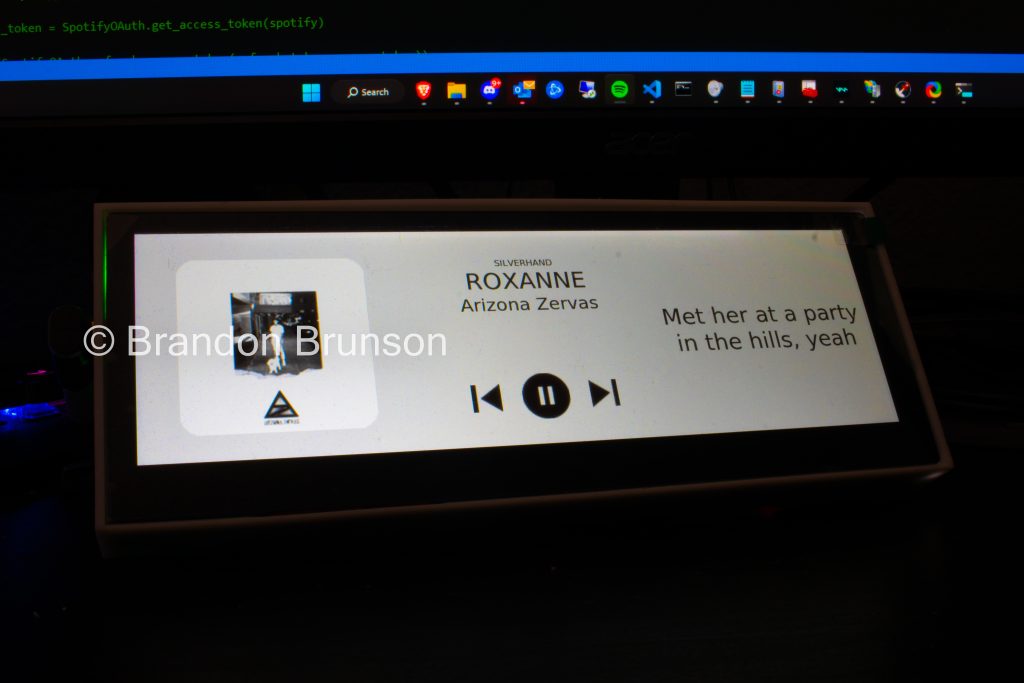
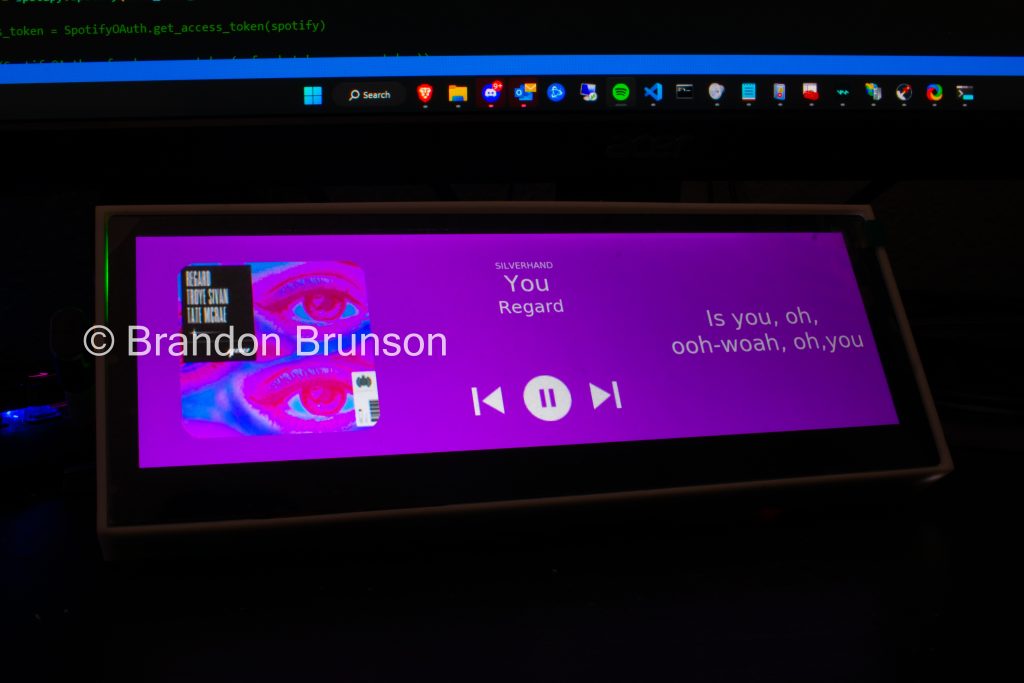
At the same time, multithreading is implemented to also download the album art of the current song from Spotify’s endpoint and display it, after some modifications. First, it runs the image through an algorithm to determine it’s “dominant” color. Now, I’ve bounced around re-designing this part a few times now, the rudimentary implementation being shrinking down the image to 1 pixel and having PIL determine what color that pixel should be, to what it is now which creates an entire color palate of the images, determining similar colors, then calculating the most used color from combining the similar colors… and I still think it has room for improvement The Pillow library is then used to draw circles on each corner, offset them, then crop the opposite out to white, which is then replaced with the color result of the aforementioned algorithm, this is what creates the curved edges of the album art. At the same time is also replaces the background of the entire screen with that same color. Then, that color is run through a luminance index to determine the perceived brightness of a particular color (which has also gone through many revisions), this then puts the color onto a brightness scale and recolors the UI elements either to black or white if it is past of the point where readability is impacted.
The screen will also detect if no music is playing and open a device selection screen which polls the Spotify API for all available devices by name on the user’s Spotify account and puts them in a list, where when a device is selected, playback starts on that device. After a predetermined amount of time of no playback the display will enter a limited sleep mode where the screen is dimmed, then later into a complete sleep mode where the display is off. Tapping the display will reactive the program and continue where it left off. Once playback starts the device selection screen is automatically closed and the now playing screen returns.
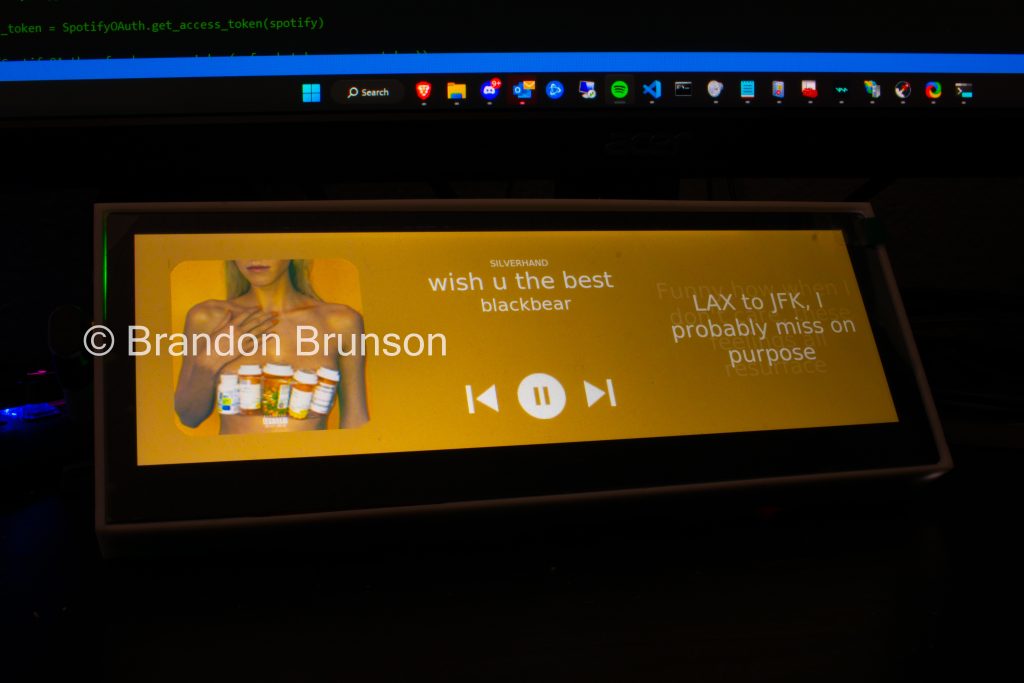
The device is fairly simple, a Raspberry Pi 4 wired to a capacitive touchscreen and connected via HDMI for picture. The Pi is running a lightweight Linux distro with no desktop environment or window manager installed, I also program the Python application to connect directly to the Linux system to start a purpose-built X server and bootstrap itself into it so there is no overhead. The result is a pretty speedy system that is very responsive and fully boots with Spotify connected in ~6s. Initially I was considering what hardware I was going to run this on and an Arduino-like device such as an ESP32 came to mind, however while this started as a small app with a small screen, the upgrades made along the way, driving the display and the amount of code that this project evolved to called for those ideas to be scraped, however I may make a version with less features later if I find I can reduce it’s footprint to become embedded. It now uses a 3:1 7.4 inch screen with a 3D printed case and stand to prop it up and is powered by one USB type-C cable and is completely self contained in the printed case.
The program also features a self-updater that reaches out to my server on each startup to look for a new build, downloads and installs the update before starting the bootstrapping process. I also created a single start install script written in both Bash and Batch for easy installation. The script reaches out to the update server but this time for a complete install, downloads all packages and assets (including required libraries), installs to the application directories for the respective OS, and creates and installs a Systemd/Init.d service on Linux or a Windows Service on Windows. The script has proper exception handling and sets the service up for bootup with a handler Python script that takes control of the display and does the aforementioned X server handling on startup.
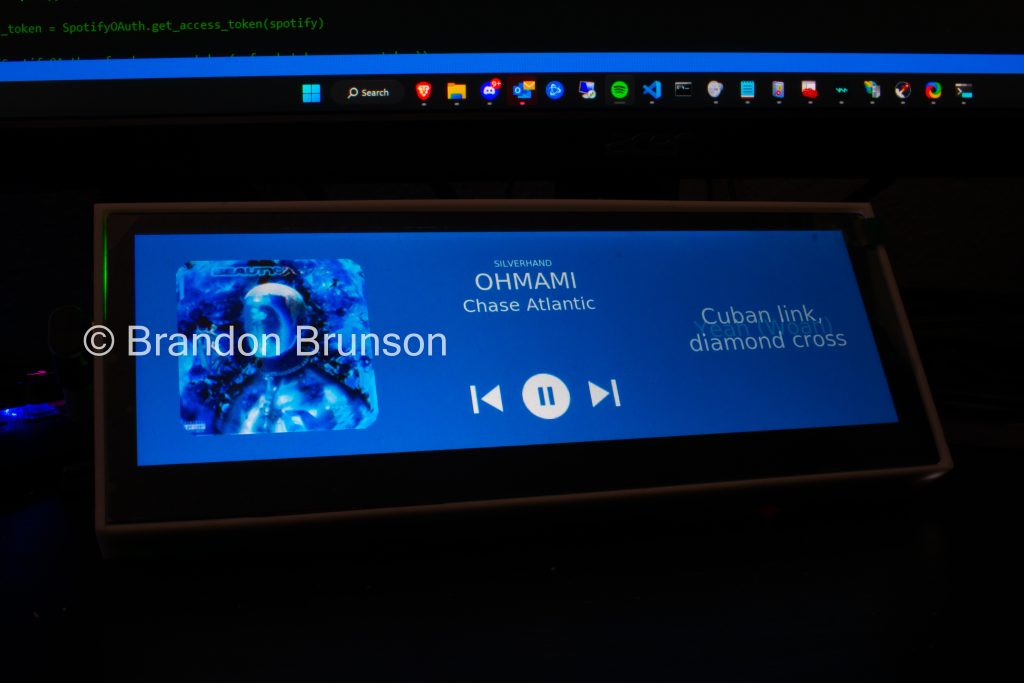
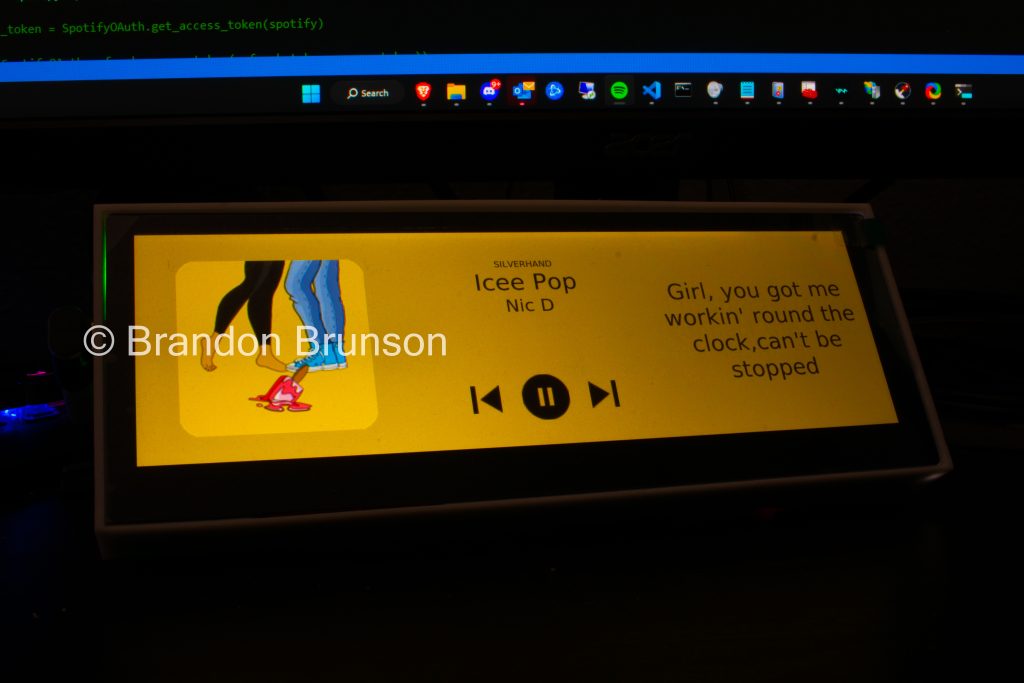
The results are something I actually never expected when I first started this project on a tiny 1.4 inch, non-touch SPI display! It has grown and grown and there are still many features to add! There are so many more ideas I have to improve so I may update this post here with new features as I add them! To name a few:
- Reverse engineer Spotify’s Canvaz API (which is obfuscated and not publicly available) to download short mini clips to each song and play this video in place of the album art.
- Refactor background color to better choose a complementing color(s), after this is perfected, expand to multiple colors to render a gradient to better compliment the album art.
- Groundwork already laid for a built-in voice assistant that will allow for hands-free control of playback.
There’s a lot to come and I am excited to continue working on it! Stayed tuned for more updates!
